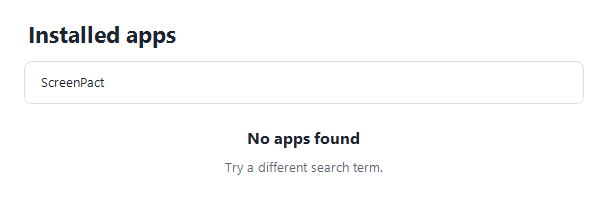
Open Installed apps
In Windows Settings, go to Apps → Installed apps, find ScreenPact and select Uninstall.
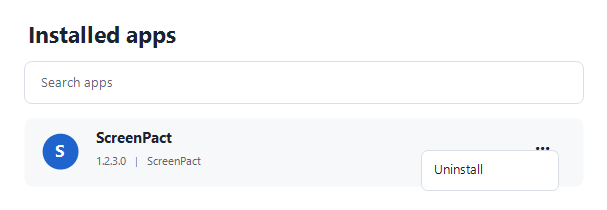
Use the protected uninstall flow and choose whether family settings should remain on the PC.
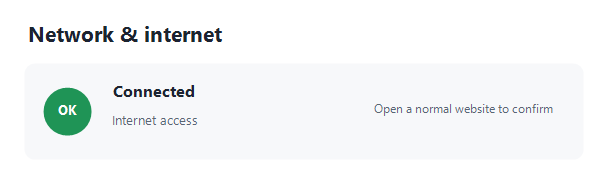
ScreenPact disappears from Installed apps and the tray, its service is removed, and a normal external website opens through the Windows network connection.
The family may be reinstalling later, giving away the PC or ending the experiment. The correct data choice depends on what happens next.
In Windows Settings, go to Apps → Installed apps, find ScreenPact and select Uninstall.
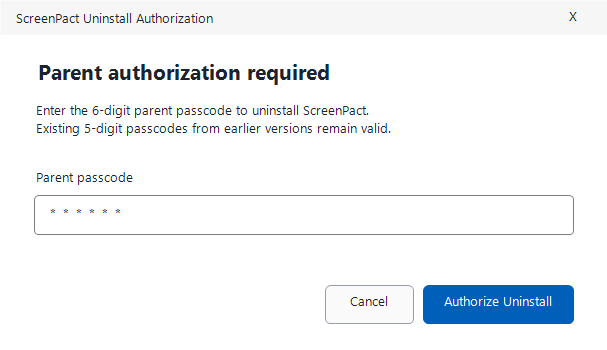
Enter the six-digit parent passcode when ScreenPact requests it. This prevents a Standard User from casually removing protection.
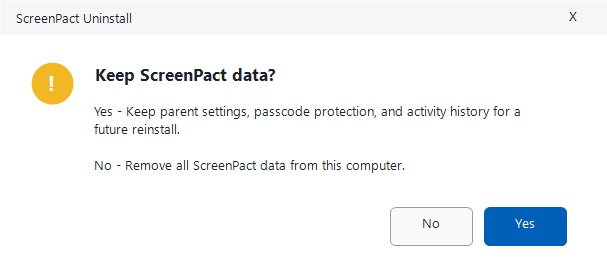
Keep parent data preserves supported settings for a later reinstall. Delete all ScreenPact parent data removes local settings and protected ScreenPact credentials. The delete-all choice cannot be undone.
Allow the uninstaller to stop protection, restore normal networking, remove the service and delete application files. Do not power off during this stage.
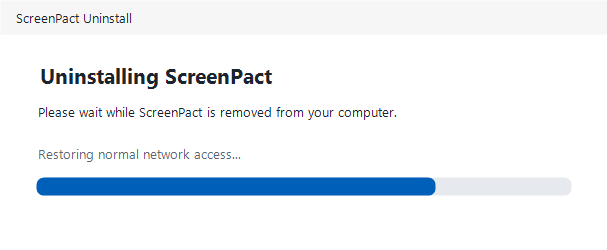
Open a normal website after uninstall. If the PC remains offline, restart Windows once and contact support rather than manually editing network routes or services.
Check that ScreenPact no longer appears in Installed apps and its tray icon is absent. A reinstall will reuse retained data only if you chose the keep-data path.